Fabulous DIY Party Decorations on a Budget
Share
Hello, crafty party planners! Are you ready to throw an amazing party without breaking the bank? Creating stunning party decor doesn't have to be expensive. With a little creativity and some DIY magic, you can transform any space into a festive wonderland. Here’s your ultimate guide to DIY party decorations on a budget, complete with step-by-step tutorials. Let’s get the party started!
Step 1: Plan Your Theme and Colour Scheme
Before diving into your DIY projects, decide on a theme and colour scheme. Whether it’s a tropical luau, a chic black-and-white party, or a whimsical garden party, having a clear vision will guide your decoration choices and make your party look cohesive and well-planned.
Pro Tip! Check out the blogs below to kickstart your creative process!
Step 2: Get Crafty with Balloons
Balloons are an affordable and versatile decoration. Create balloon garlands, arches, or even balloon centrepieces. Mix and match colours, sizes, and shapes to add depth and interest to your decor. You can even fill clear balloons with confetti or small balloons for extra fun.
Tutorial: DIY Balloon Garland
- Materials Needed: Balloons in various colours and sizes, balloon tape, balloon pump, command hooks, and string.
- Instructions:
- Inflate the balloons to different sizes.
- Attach the inflated balloons to the balloon tape, alternating sizes and colors.
- Use command hooks to hang the balloon garland in your desired location.
- Adjust and fill gaps with smaller balloons for a fuller look.
Need more inspiration? Visit the link Balloon Decoration Ideas for step-by-step guides and creative tips!
Step 3: DIY Banners and Garlands
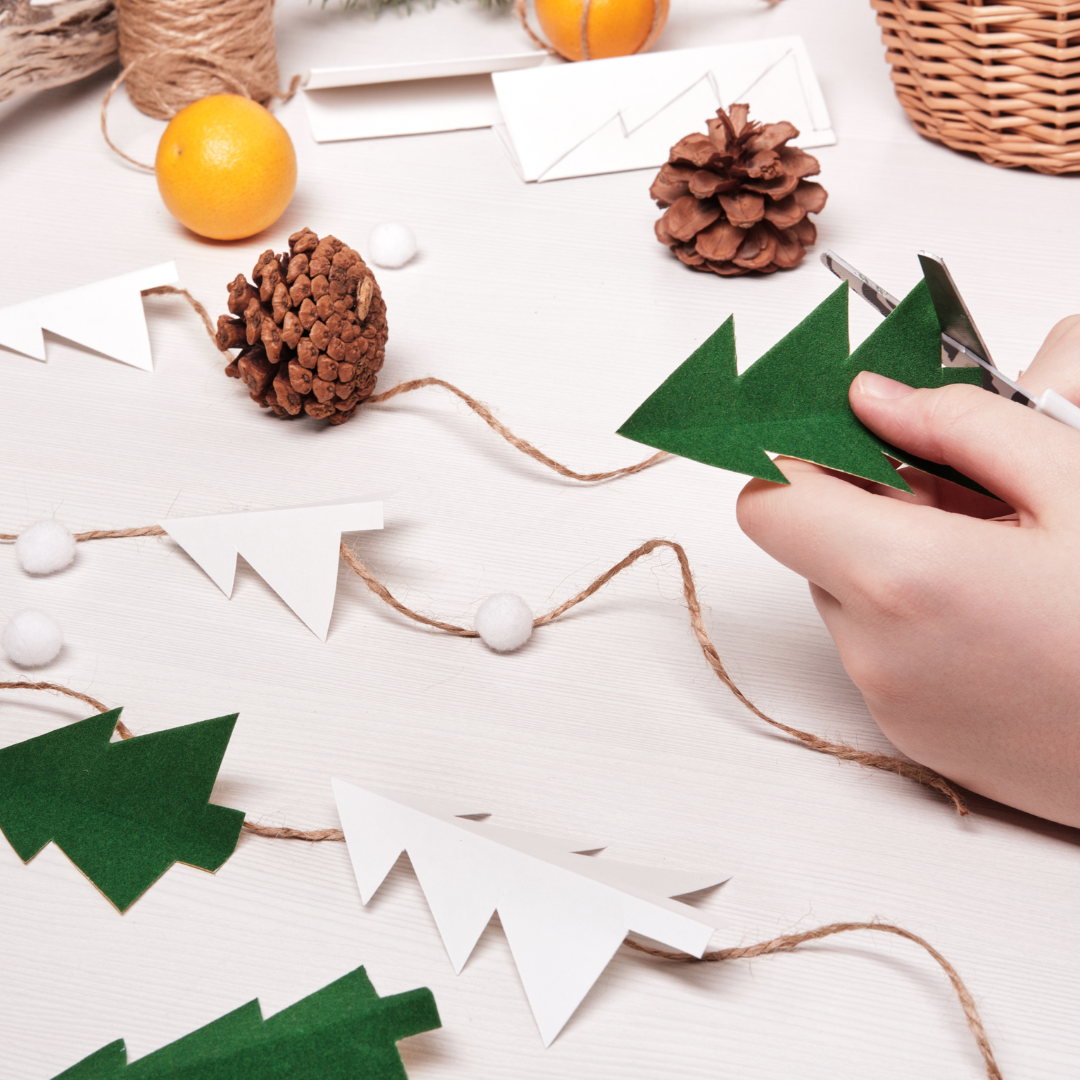
Banners and garlands add a festive touch to any party. Use colored paper, string, and a bit of glue to create personalized banners with messages like "Happy Birthday" or "Congratulations." You can also make tassel garlands, paper chains, or fabric bunting to match your theme.
Tutorial: DIY Tassel Garland
- Materials Needed: Tissue paper in various colors, scissors, string, and tape.
- Instructions:
- Cut the tissue paper into strips, leaving a small section at the top uncut.
- Roll the uncut section tightly and twist to create a loop.
- Thread the twisted tissue paper onto the string, and secure it with tape if needed.
- Repeat the process, alternating colors to create a vibrant garland.
Easy peasy! Our Banner and Garland Maker has templates and tutorials to make your DIY project a breeze!
Step 4: Create Eye-Catching Centerpieces
Centerpieces can be made from everyday items you have at home. Fill mason jars or vases with fresh flowers, fairy lights, or even colorful candies. For themed parties, use items like toy dinosaurs, seashells, or miniature props. Combine different elements to create unique and memorable centerpieces.
Tutorial: DIY Mason Jar Centerpieces
- Materials Needed: Mason jars, fresh flowers or artificial flowers, ribbon, and fairy lights.
- Instructions:
- Fill the mason jars with flowers, adjusting them to create a full look.
- Wrap the jars with ribbon, tying a bow for a decorative touch.
- Place fairy lights around the jars to add a soft glow.
Get crafty! Explore our DIY Centerpiece Ideas for inspiration and instructions!
Step 5: Design Your Own Photo Booth
A photo booth is a party favorite and doesn’t have to cost a fortune. Create a backdrop using a large sheet of fabric, streamers, or even a decorated cardboard box. Provide fun props like hats, glasses, and signs for guests to use. Your DIY photo booth will be a hit and provide great memories.
Tutorial: DIY Photo Booth Backdrop
- Materials Needed: Large fabric or plastic tablecloth, streamers, tape, and props.
- Instructions:
- Hang the fabric or tablecloth on a wall to create the backdrop.
- Cut streamers to your desired length and tape them vertically across the backdrop.
- Add props like hats, glasses, and signs on a nearby table for guests to use.
Strike a pose! Check out our DIY Photo Booth Guide for detailed instructions and prop ideas!
Step 6: Illuminate with String Lights and Candles
Lighting sets the mood for your party. String lights and candles are inexpensive ways to add warmth and ambiance. Drape string lights around the room, over tables, or in trees if you’re hosting an outdoor party. Use candles in glass jars or lanterns for a cozy, intimate feel.
Tutorial: DIY String Light Canopy
- Materials Needed: String lights, command hooks, and extension cords.
- Instructions:
- Attach command hooks to the ceiling or walls, creating a grid or pattern.
- Drape the string lights across the hooks, forming a canopy effect.
- Plug in the lights and adjust as needed to create the desired look.
Light up the night! Visit our Budget Lighting Solutions for more creative lighting ideas!
Step 7: Personalize with DIY Party Favors
Party favors are a great way to thank your guests for coming. Create personalized favors such as homemade cookies, small potted plants, or custom keychains. Package them in cute bags or boxes that match your theme. DIY party favors add a personal touch and are budget-friendly.
Tutorial: DIY Potted Plant Favors
- Materials Needed: Small pots, soil, seeds or small plants, and ribbon.
- Instructions:
- Fill the small pots with soil and plant the seeds or small plants.
- Tie a ribbon around each pot for decoration.
- Add a small thank you tag if desired.
Bonus Tips for Budget DIY Decorations
- Repurpose and Recycle: Use items you already have at home, such as jars, bottles, and old decorations.
- Shop Smart: Look for deals at dollar stores, thrift shops, and online marketplaces.
- Get Creative with Materials: Use paper, fabric, and natural elements like leaves and flowers for inexpensive decor.
With these DIY party decoration ideas, you’re ready to host a fabulous party on a budget. For all your party essentials and creative supplies, visit Festi Duck—your one-stop shop for everything party-related. Happy decorating, crafty planners!
